


Looking for a creative way to showcase those dried flowers you've been saving? A flower hoop décor is a simple yet stunning project that brings a touch of nature and elegance to your home. Whether you’re using dried blooms from your garden or from bouquets you had over the summer, this project will add a handmade, rustic charm to your space.
Looking for a creative way to showcase those dried flowers you've been saving? A flower hoop décor is a simple yet stunning project that brings a touch of nature and elegance to your home. Whether you’re using dried blooms from your garden or from bouquets you had over the summer, this project will add a handmade, rustic charm to your space.
What You'll Need:
- A metal hoop (choose any size)
- Scissors
- Twine or yarn (your choice)
- Dried flowers (either dried upside down from your garden or from past bouquets)
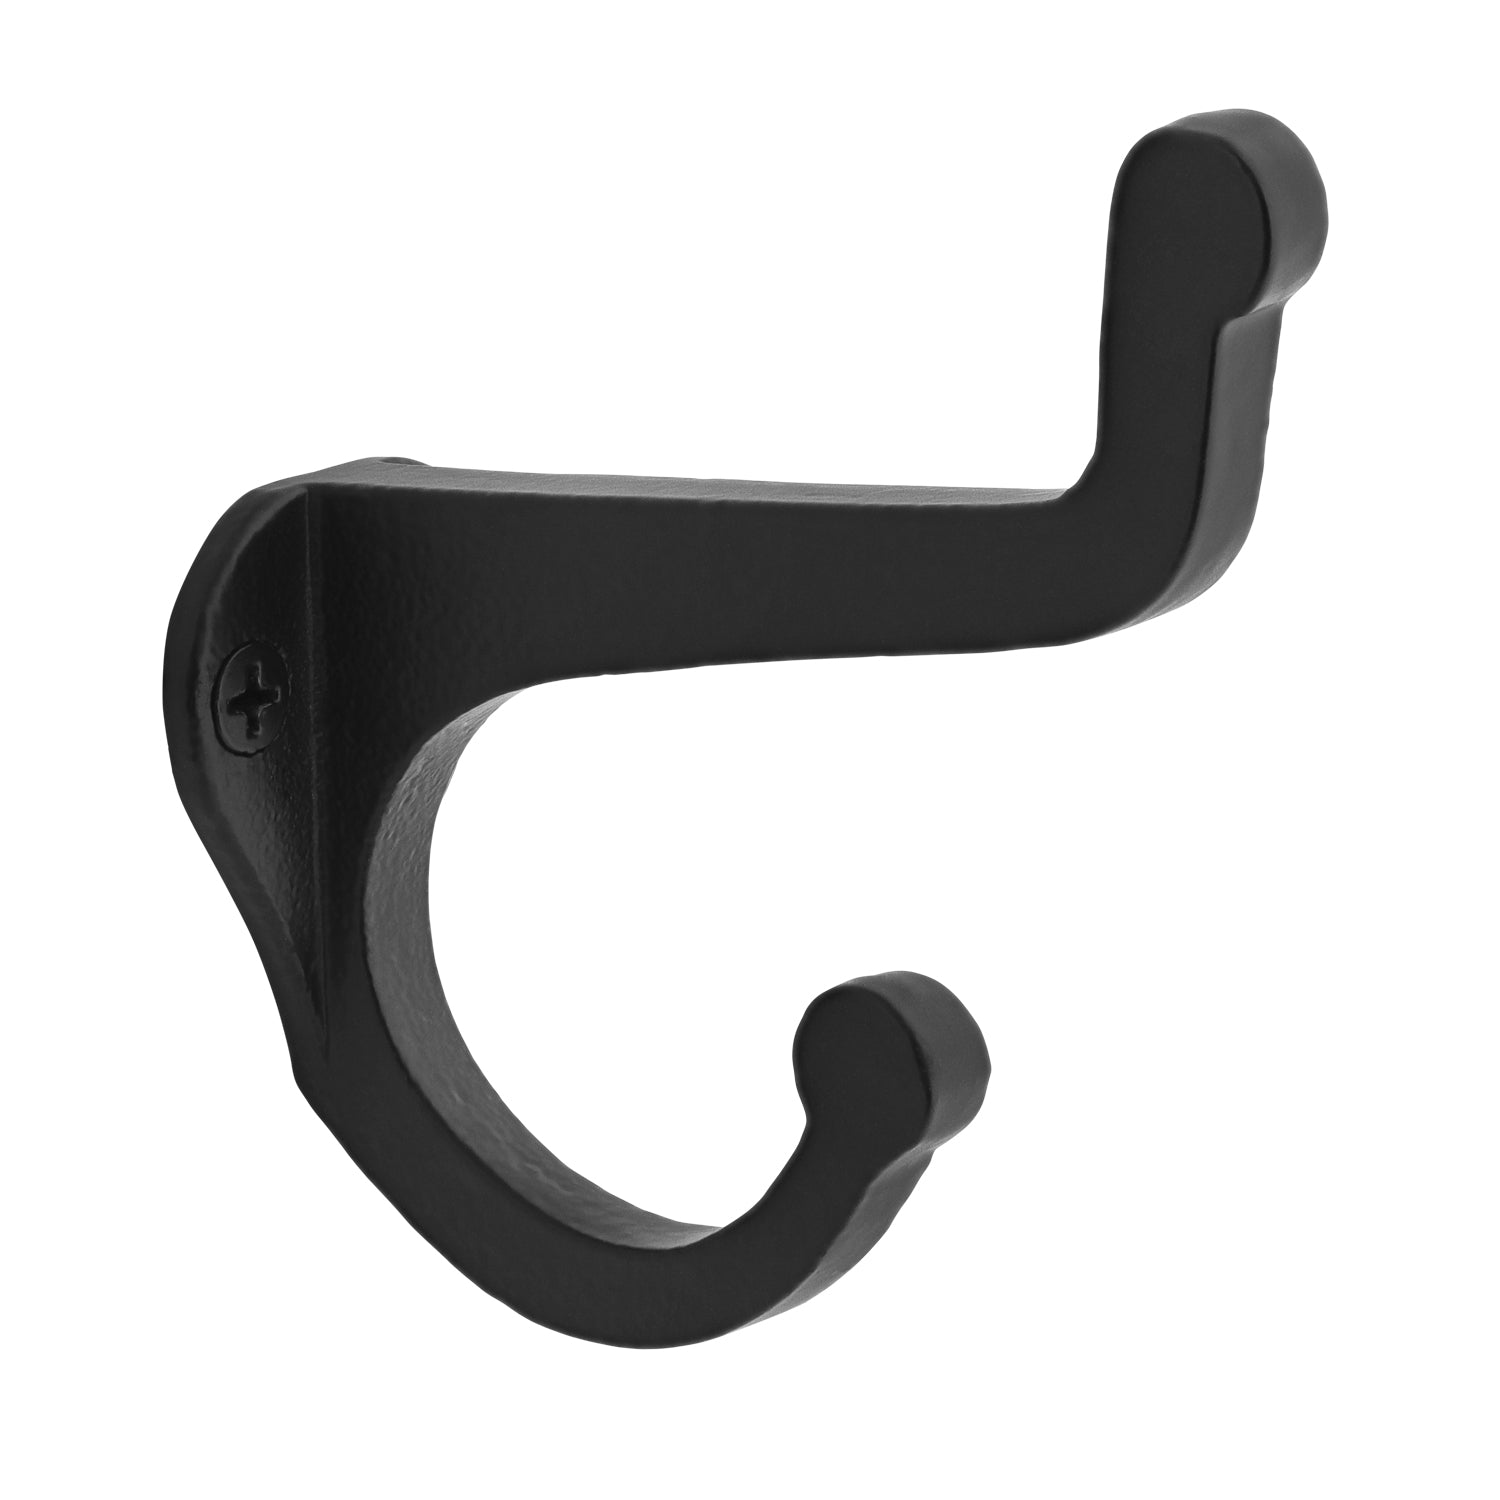
- Hook for hanging (we used the Ageless Iron Blacksmith Coat Hook)

Step-by-Step Instructions:
1. Start with the Basics
First, tie a knot with your twine or yarn onto the metal hoop. If you don’t want to hold the twine on the hoop while you work, you can secure it with tape, but keep in mind that this knot will need to be untied once you finish wrapping the hoop (so don’t tie it too tight).


2. Wrap the Metal Hoop
Begin wrapping the metal hoop tightly with your twine or yarn. Be sure to wrap it snugly to avoid any gaps or unraveling later. Here’s a tip: if you wrap the hoop in the same direction the twine is twisted, the final look will be smooth and seamless. Wrapping in the opposite direction will create a ribbed texture, which can add some visual interest. (We went for the ribbed look for this project.)
Once you reach the knot, cut the twine and push both sides away from each other to tighten the wrap. Finish wrapping and tie the two ends together securely. You can use multiple knots or super glue to ensure it doesn’t come undone.


3. Cross and Wrap
Now, tie a new knot onto the fully wrapped metal ring—this one will be permanent, so make it tight. Begin wrapping the twine around the hoop again, this time creating cross sections across the center. You can choose to wrap it neatly for a symmetrical look, but we opted for a more sporadic, crisscross style, which makes it easier to tuck in the dried flowers.
Cut and tie off the twine once you’re happy with the number of crosses (we chose six). Again, ensure that the knot is secure by tying it twice or using glue. Trim the excess twine from your knots for a clean finish.


4. Create the Hanging Loop
Cut a piece of twine or yarn twice as long as you’d like the finished piece to hang. Fold the twine in half, and tie the two cut ends together. Lay the tied end on top of the wrapped hoop where you’d like the hanging point to be, then pull the tied end through the bottom loop, slip-knotting it onto the ring. This method allows you to adjust the length or position later if needed.


5. Add the Flowers
Cut a piece of twine or yarn twice as long as you’d like the finished piece to hang. Fold the twine in half, and tie the two cut ends together. Lay the tied end on top of the wrapped hoop where you’d like the hanging point to be, then pull the tied end through the bottom loop, slip-knotting it onto the ring. This method allows you to adjust the length or position later if needed.

6. Hang and Enjoy
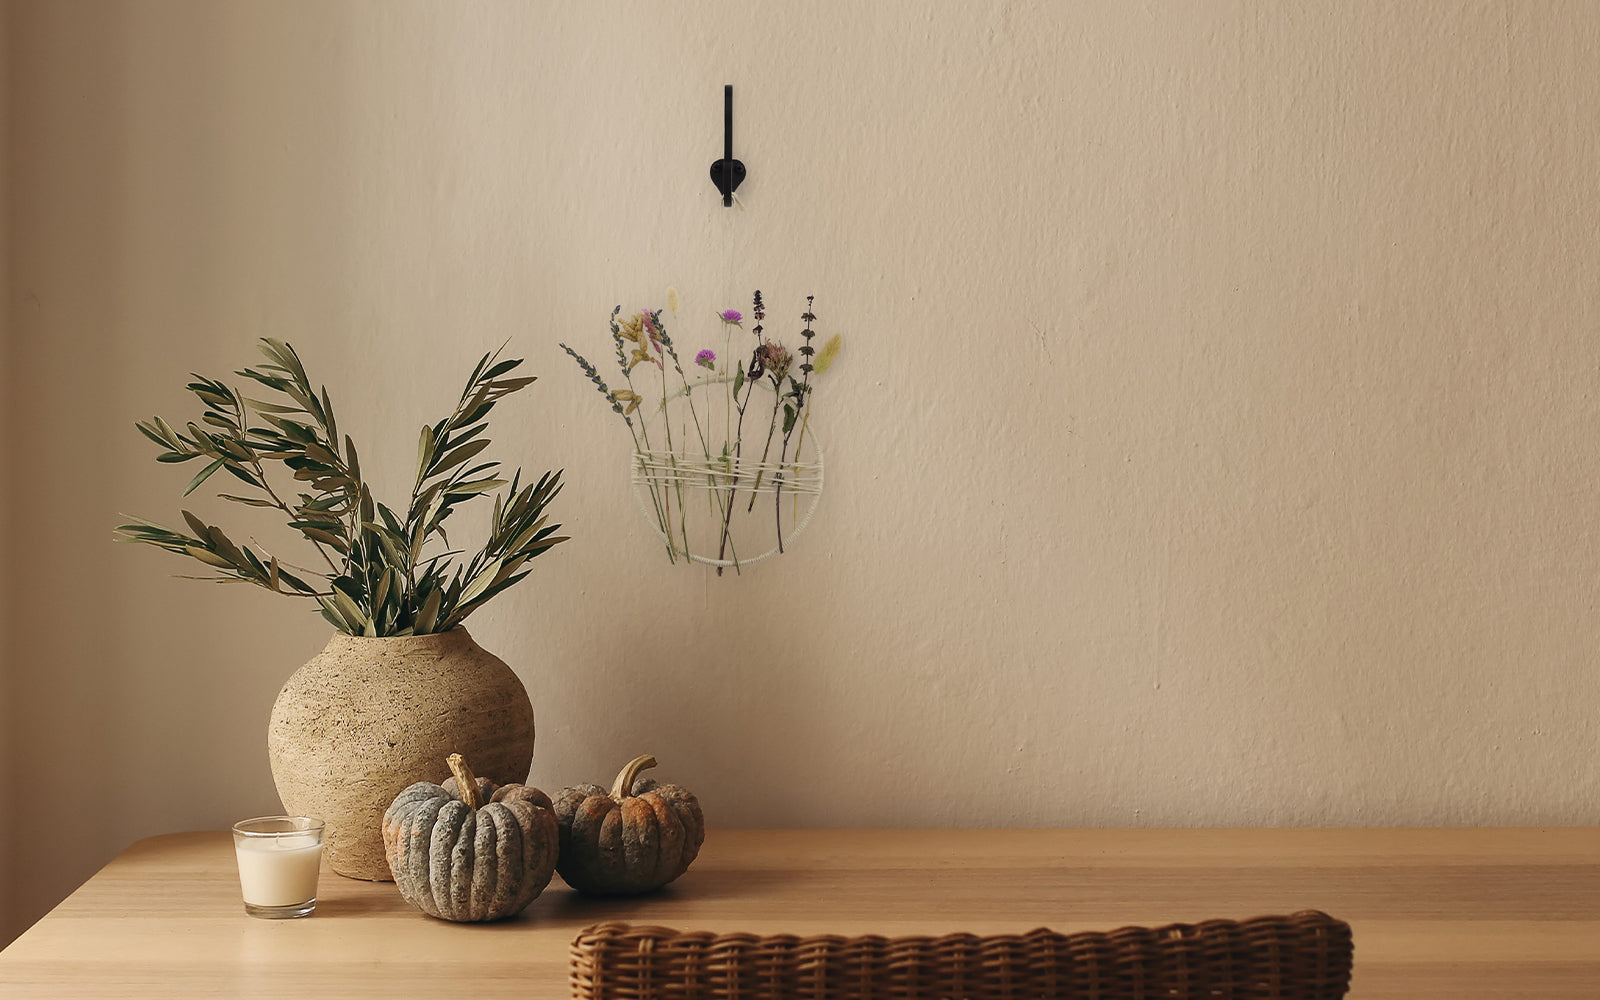
Your beautiful flower hoop décor is now complete! All that's left is to find the perfect spot to hang it. We suggest avoiding doors or outdoor spaces, as the movement of doors or exposure to the elements could damage the delicate dried flowers. Instead, display it in a safe indoor spot where it can be admired year-round.
We hung ours using the Ageless Iron Blacksmith Coat Hook, which adds a rustic touch to the finished piece.

Final Thoughts
This DIY flower hoop is an easy and creative way to preserve your favorite blooms and add a personal, handmade touch to your décor. With just a few materials and a little bit of time, you’ll have a beautiful piece to enjoy in your home or gift to someone special.
Featured Product